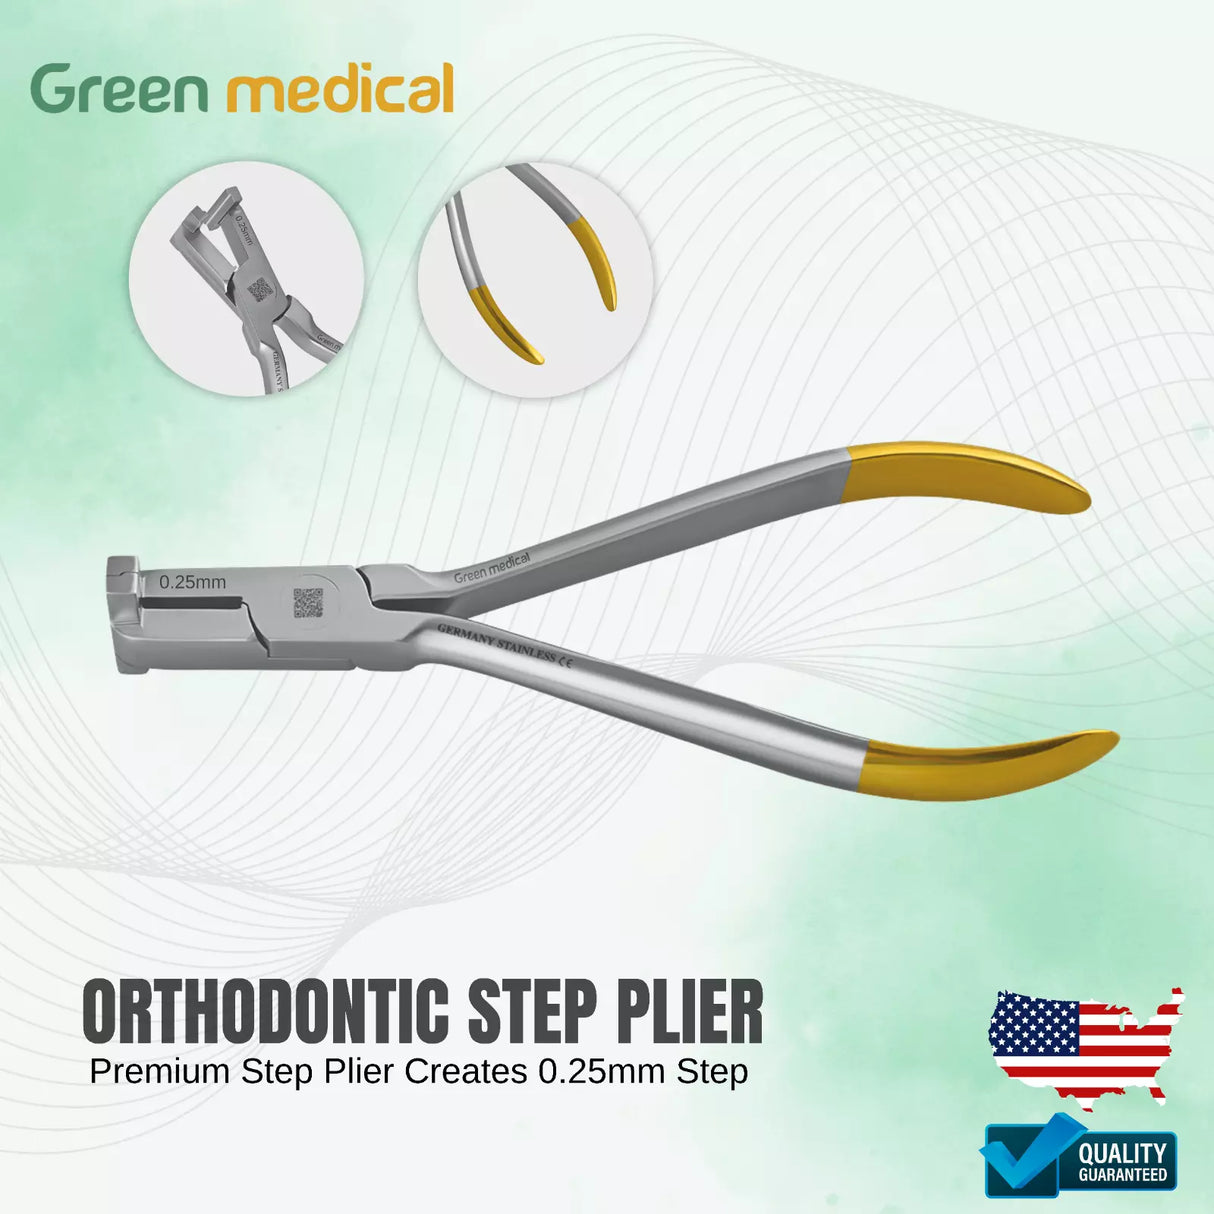
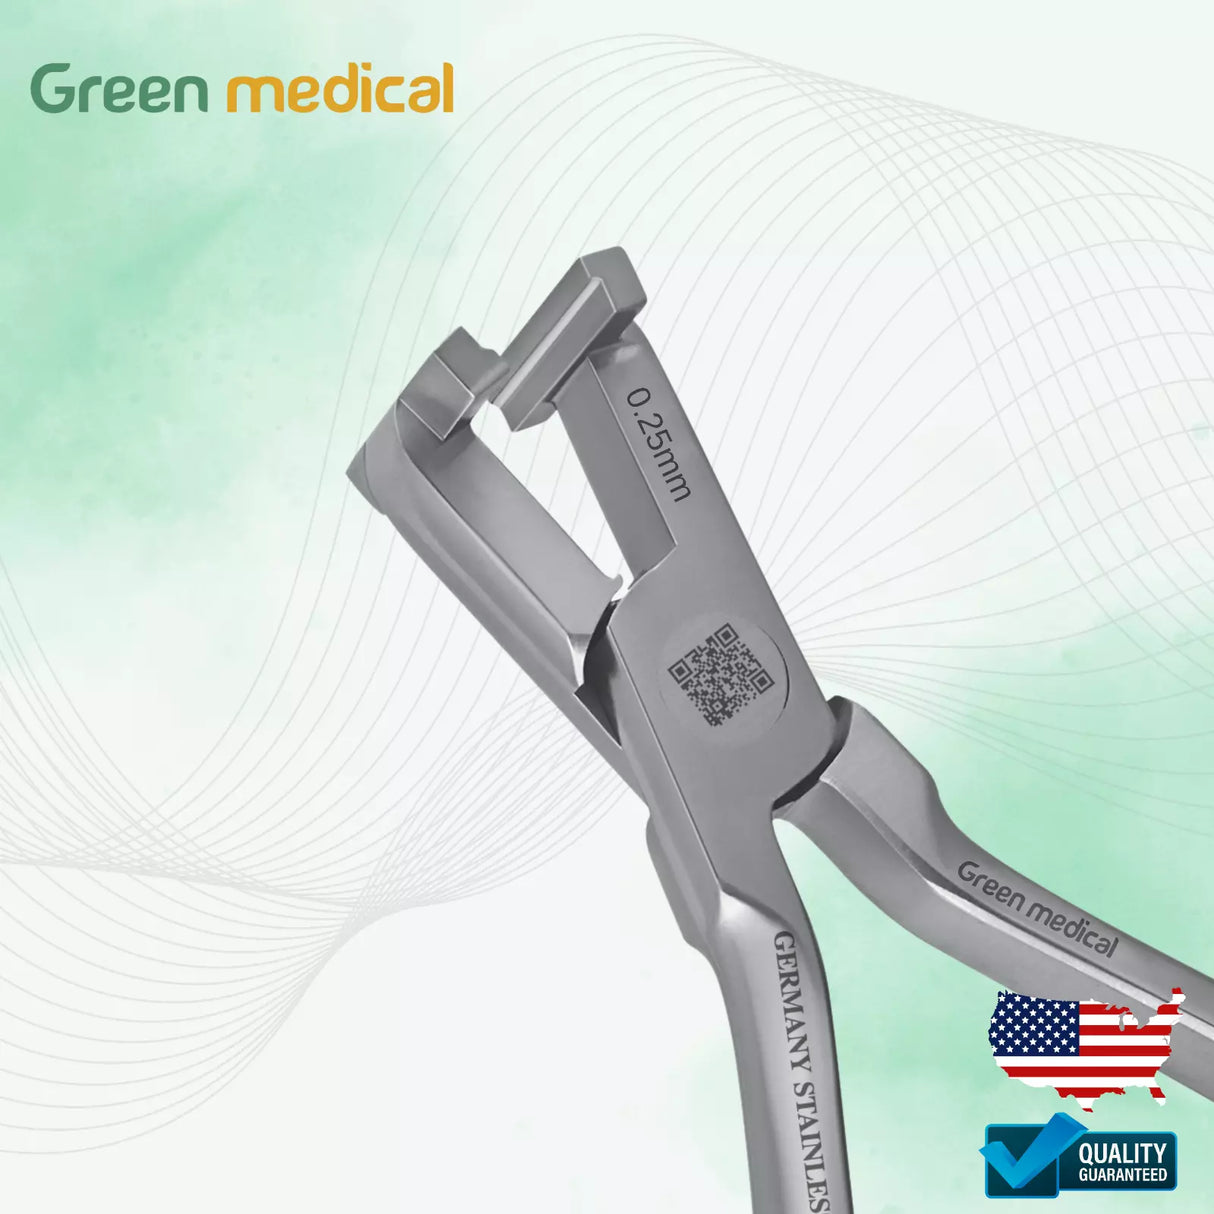
ORTHODONTIC STEP PLIER BANDING 0.25MM Steps
ORTHODONTIC STEP PLIER BANDING 0.25MM Steps is backordered and will ship as soon as it is back in stock.
Couldn't load pickup availability
Care information
Care information
To ensure the longevity and optimal performance of your surgical instruments, proper care and handling are essential. Always clean and dry instruments immediately after use, store them in a dry, protected environment, and follow manufacturer guidelines.
For detailed instructions, including cleaning, storage, and sterilization procedures, visit our complete Care and Handling guide
Delivery and Shipping
Delivery and Shipping
We offer reliable shipping for both domestic and international orders. All orders are processed within 1-2 business days, and we provide tracking information for every shipment. Domestic orders typically arrive within 4-5 business days, while international orders take approximately 14-15 business days. Shipping costs are based on the weight of your order, and customers are responsible for any applicable customs duties or taxes for international shipments.
For more detailed information, please visit our Shipping Policy page.
Description
Description
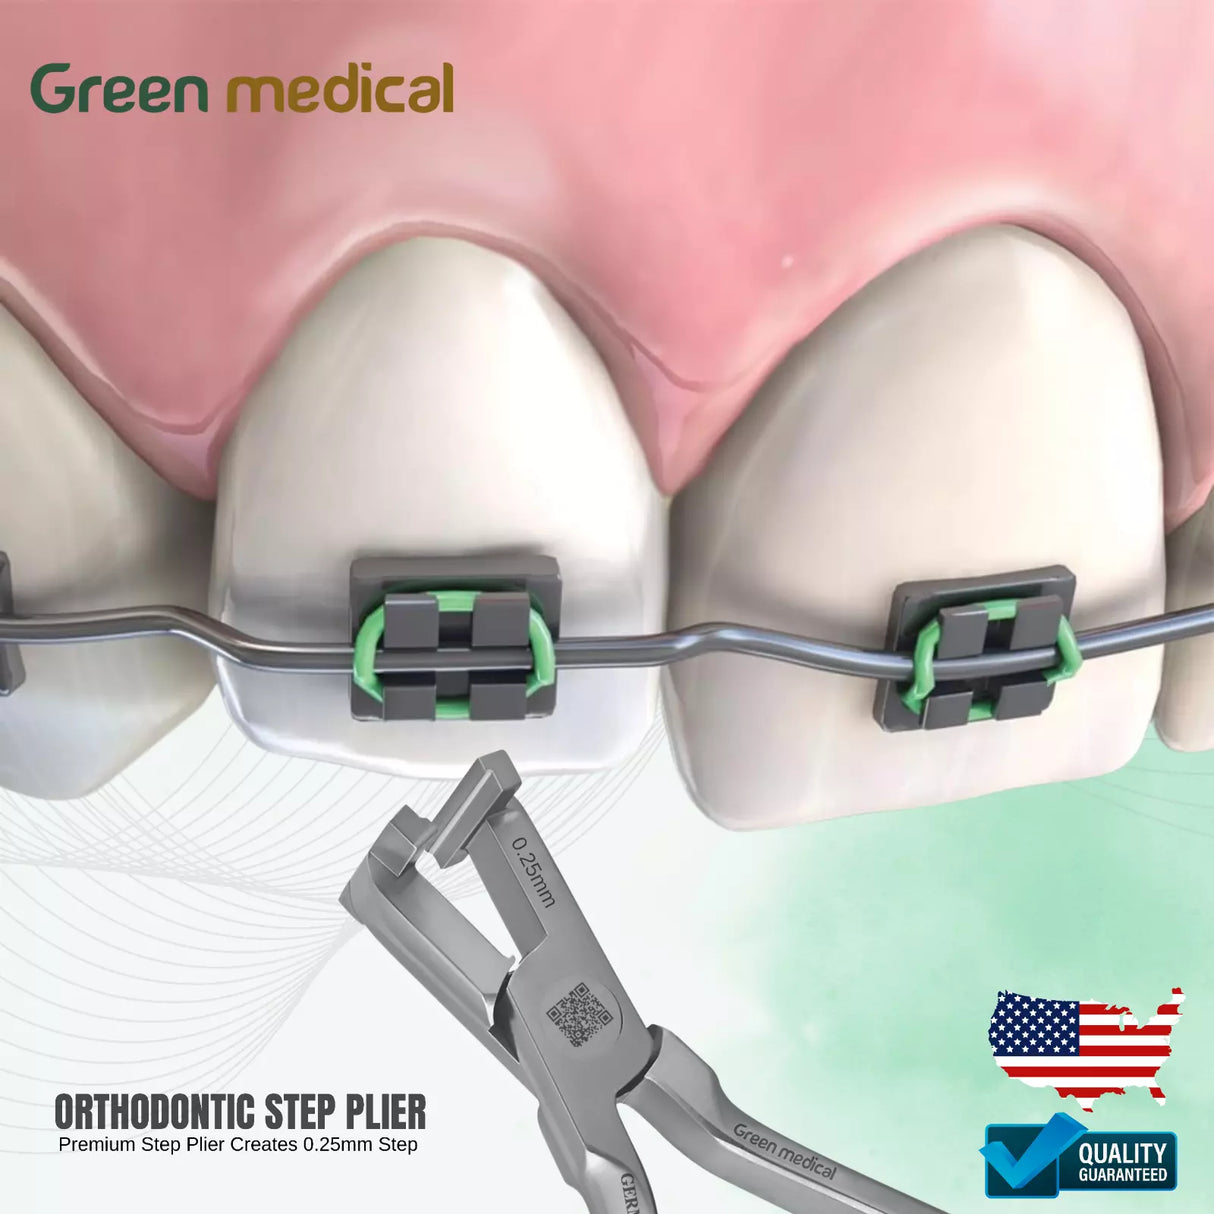
Orthodontic step pliers, specifically the banding type, are essential tools in the orthodontic process for placing and fitting metal bands around teeth. These pliers are often used to achieve precise incremental changes in the band position, ensuring an optimal fit for orthodontic treatment. The 0.25mm step refers to the small, controlled adjustments the pliers make, ensuring accurate placement of the metal bands.
Here are the general steps involved in using Orthodontic Step Pliers (Banding Type) 0.25mm for banding:
1. Prepare the Band and Tooth
- Select the correct band size: Choose the appropriate size of the metal band based on the patient's tooth. Bands typically come in different sizes, so ensure the one chosen fits snugly around the tooth.
- Clean the tooth surface: Thoroughly clean the tooth to ensure a smooth surface for better adhesion of the band.
2. Position the Band
- Place the band on the tooth: Position the band carefully on the selected tooth. If the band is too large, it can be reduced using the pliers.
- Ensure proper fit: Check if the band wraps around the tooth correctly, without gaps or excessive pressure.
3. Use the Step Pliers
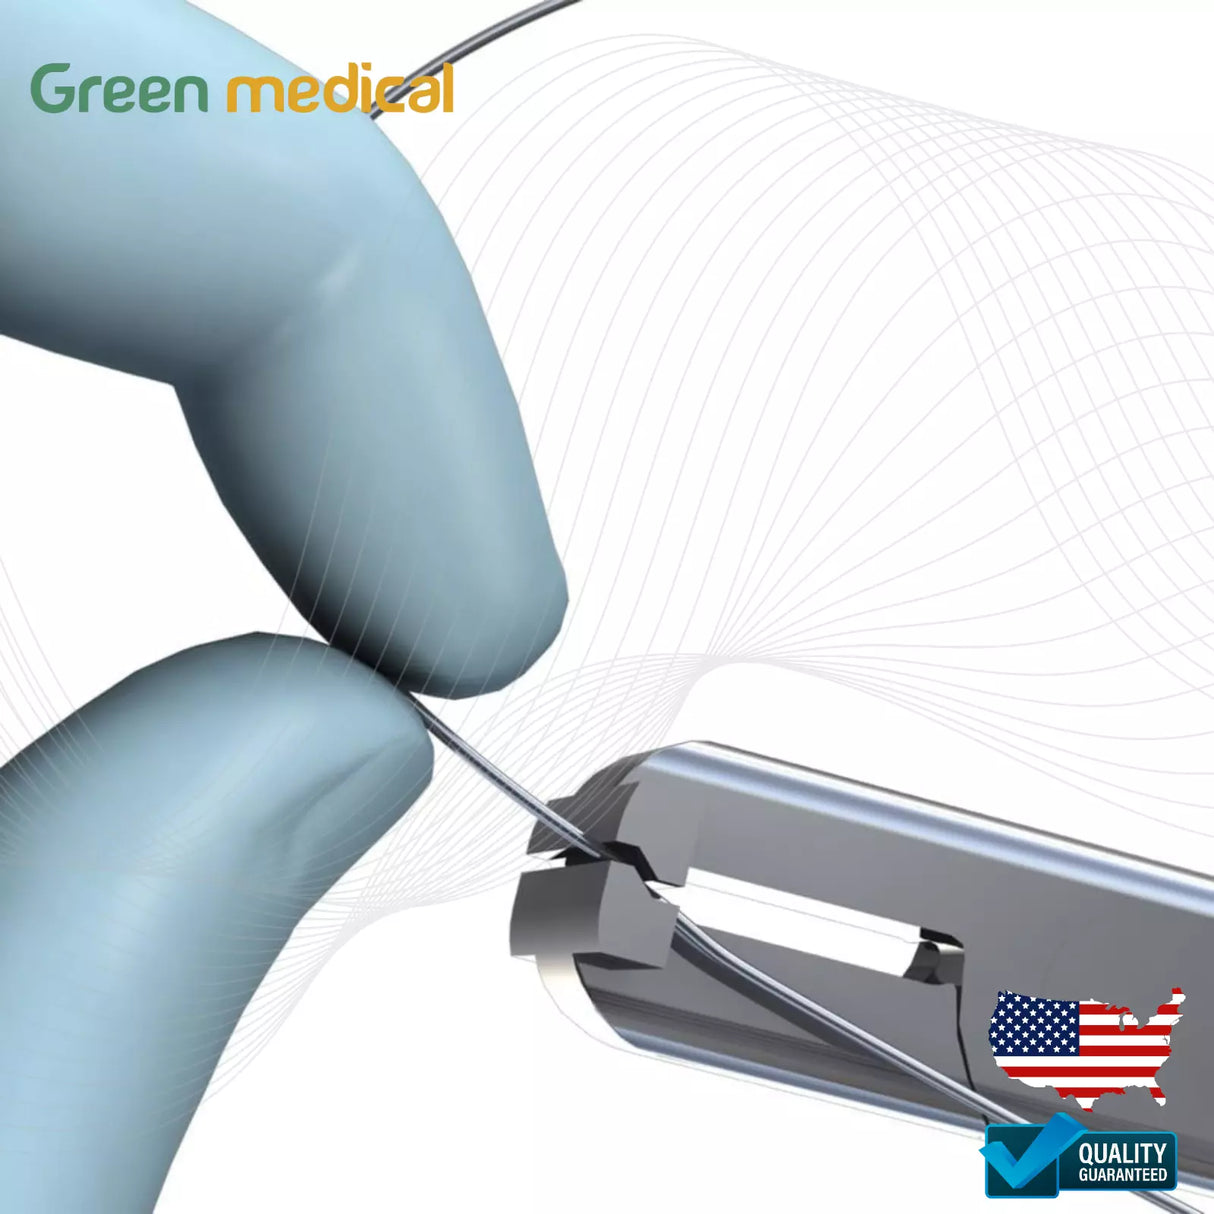
- Grasp the band with the pliers: Position the band inside the jaws of the step pliers. The 0.25mm step will provide a precise adjustment as you apply gentle pressure.
- Incremental adjustments: Squeeze the pliers to make a 0.25mm step adjustment. The step is typically used to bring the band closer or more snugly around the tooth. This is particularly helpful for small, fine adjustments to ensure that the band fits without being too tight or loose.
4. Ensure Proper Seating
- Check for an accurate fit: After making the adjustments, check the band’s fit around the tooth. It should seat well without discomfort, and the edges of the band should be aligned with the tooth structure.
- Verify the band positioning: Use an explorer or another instrument to confirm that the band is in the correct position and is not impinging on the gums or surrounding teeth.
5. Final Check
- Inspect for smoothness: Ensure that the band’s edges are smooth and there are no sharp points that could irritate the gums or mucosa.
- Final banding confirmation: After ensuring the correct fit, confirm that the band is well-seated before proceeding with any other orthodontic procedures like attaching brackets or wiring.
6. Repeat as Necessary
- Adjust other bands: If you're working on multiple teeth, repeat the same steps for each band until all the bands are correctly positioned.
Payment & Security
Payment methods
Your payment information is processed securely. We do not store credit card details nor have access to your credit card information.


